

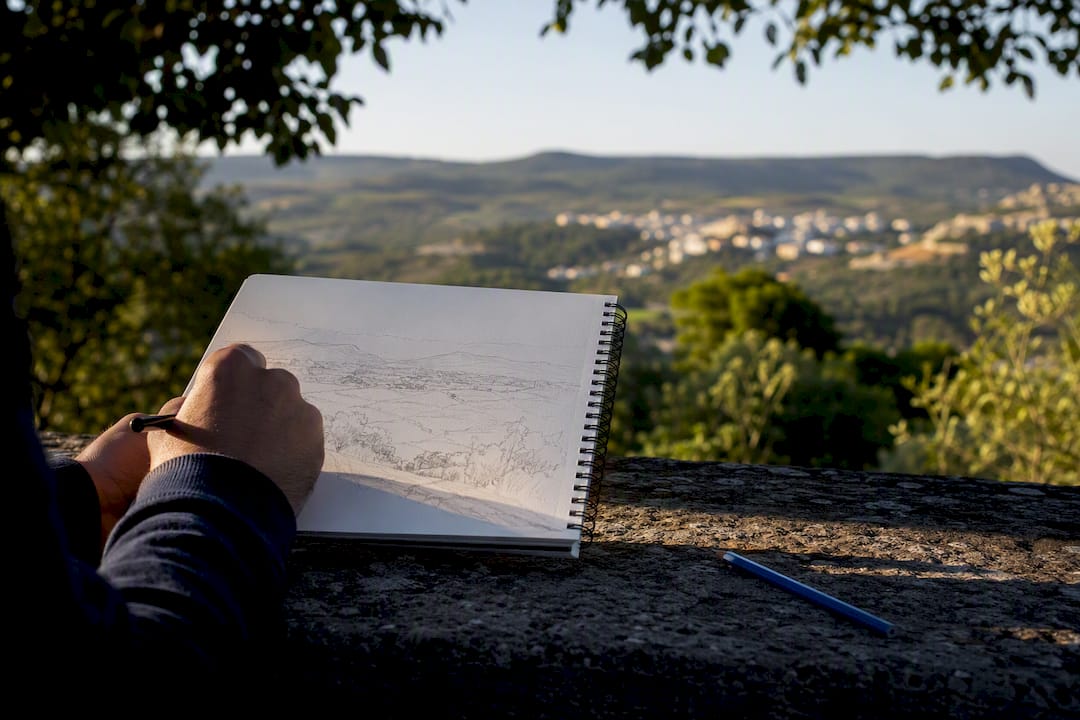
11 Sep IB Geography and ESS Field Sketches: A Practical Guide
A field sketch is a hand-drawn, annotated diagram that captures what raw data can’t: the spatial relationships and processes you see at your fieldwork site. It counts as qualitative evidence when it’s tied directly to your research question. Your first move on site is simple: frame the view with your hands or a cardboard frame, draw a rectangle on your paper, mark north and your viewing direction, then work through the steps below.
TL;DR:
- A field sketch must accurately represent features relevant to the research question, not just provide decorative or unrelated detail.
- Annotations should explain processes and implications, not just identify features, to support analysis and higher marks.
- Use a clear viewpoint, legible labels and appropriate proportions. A perspective field sketch should not be presented as a true-scale map.
- The sketch and annotations need to be your own work, backed by backup photos, and should avoid excessive irrelevant detail or copying from others.
- Getting expert feedback on sketches before submission can significantly improve their analytical value and help meet IB assessment criteria.
Table of Contents
- How Do You Draw a Geography Field Sketch Step by Step?
- How Should Field Sketches Fit Into Your IB IA?
- What’s the Difference Between a Label and an Annotation?
- What Mistakes Cost Marks on Field Sketches?
- What Should Be in Your Field Sketch Toolkit?
- An Examiner’s Take on What Turns a Sketch Into Real Evidence
- Want an Examiner to Review Your Field Sketches Before You Submit?
- Sources
How Do You Draw a Geography Field Sketch Step by Step?
Getting the technique right matters more than getting the art right. Examiners aren’t grading your drawing skill. They’re grading whether your sketch is accurate, relevant, and useful as evidence, exactly what the six-step process taught in most geography classrooms is built around.
Start by choosing your view with purpose. Don’t sketch whatever’s in front of you just because it’s there. Ask yourself: does this view actually show something connected to my research question? A river meander study needs the channel and the outer bank erosion in frame, not a nice stretch of unrelated woodland to the left.
- Frame the view. Use your hands, a viewfinder, or a simple cardboard cutout to isolate exactly what you want to sketch. This stops you from including irrelevant clutter.
- Draw the frame on paper. Sketch a rectangle that mirrors the proportions of your framed view, then lightly divide it into thirds, foreground, middleground, and background.
- Start with the skyline. Outline the horizon or the furthest visible ridge, tree line, or building edge first. This anchors your proportions before you add anything else.
- Outline the major features. Work forward from the background into the middleground, adding the larger shapes: slopes, water bodies, vegetation blocks, structures.
- Add foreground detail and texture. This is where the smaller, closer features go, along with any texture that shows surface type, such as scree, sand ripples, or crop rows.
- Represent relative size: Use visible reference objects to convey proportion. A pencil estimate is not a measured slope angle or an exact scale; state measurements only where you actually collected them.
- Number and annotate. Add numbers to key features and write short annotations that explain a process or link the feature to your research question, not just what it is.
- Take backup photos. Snap a few quick shots of the same view so you can check proportions and details later without needing to redraw from memory.
This thirds method, working from background to foreground, is the same approach NSW Education’s field sketch guidance recommends for keeping proportions under control when a scene feels too big to capture.
Pro Tip: Sketch the skyline before anything else, even if it feels like the least interesting part. Students who start with foreground detail almost always run out of paper space before they reach the horizon, and the whole sketch ends up out of proportion.
How Should Field Sketches Fit Into Your IB IA?
A field sketch should record relevant observations and support your interpretation. Geography and ESS use different IA criteria, so do not transfer criterion letters or word-count rules from one subject to the other.
- Geography Criterion A: Connect the fieldwork question to geographical context. A relevant sketch may help show site features, but cannot replace a clearly explained question and context.
- Geography Criterion C: Present relevant information clearly. Give a sketch a title, figure number, viewpoint and useful annotations; distinguish observed features from inferred processes.
- Geography Criterion D: Refer to relevant sketch evidence in your written analysis. For ESS first assessed in 2026, use its separate criteria for research question and inquiry, strategy, method, treatment of data, analysis and conclusion, and evaluation.
Place essential sketch evidence beside the discussion that uses it. Number the figure, identify its site and date, and credit any photographic or map source. Keep essential evidence and reasoning in the assessed report rather than relying on an appendix to carry them.
What’s the Difference Between a Label and an Annotation?
Labels name observed features; annotations add relevant detail or a cautiously stated interpretation. Neither guarantees marks on its own: explain how the evidence helps answer your research question.
A label says: “Meander bend.”
An annotation might say: “Undercut outer bank; consistent with lateral erosion.” Do not claim a change in channel shape over time unless you have evidence of that change.
Weak annotation: “Trees on the hillside.”
Possible annotation: “Woodland cover may intercept rainfall; assess alongside rainfall, slope and discharge data.” Vegetation alone cannot establish why discharge differs between sites.
Check word-count rules in the current guide for your subject. The Geography IA limit is 2,500 words; the ESS scientific investigation first assessed in 2026 has a 3,000-word maximum. Do not assume a universal ten-word annotation exemption, or put extended analysis into labels to avoid the limit.
Practical tip: Keep annotations legible and relevant. Put longer explanations in the main analysis and apply your subject’s word-count rules.
What Mistakes Cost Marks on Field Sketches?
Fieldwork conditions are rarely ideal. Wind flips paper, rain smudges pencil, and your group leader is already moving to the next site. A clipboard with a bulldog clip solves half of this. Pre-drawing your frame rectangle before you even leave the classroom saves precious minutes, and a quick photo backup means a smudged or rushed sketch can still be redrawn properly later.
The most commonly penalized mistakes are avoidable:
- No title, no compass orientation, or no scale indication.
- Labels that just name features without any explanation of process.
- Sketches that are clearly copied from a group member’s version, right down to identical shading and feature placement.
- Excessive irrelevant detail that has nothing to do with the research question, added because it looked interesting on the day.
Where your school permits group collection, identify the shared fieldwork and produce your own assessed interpretation. You may tidy an original sketch using your field notes or clearly identified photographs. Do not add observations you did not make or present a photograph-derived drawing as a direct field record.
What Should Be in Your Field Sketch Toolkit?
Keep your kit light enough to carry all day but complete enough that you’re never stuck improvising. An HB or 2B pencil gives you both fine detail and shading control, and RGS guidance specifically recommends pairing sketches with photographs so nothing gets lost between the field and your write-up.
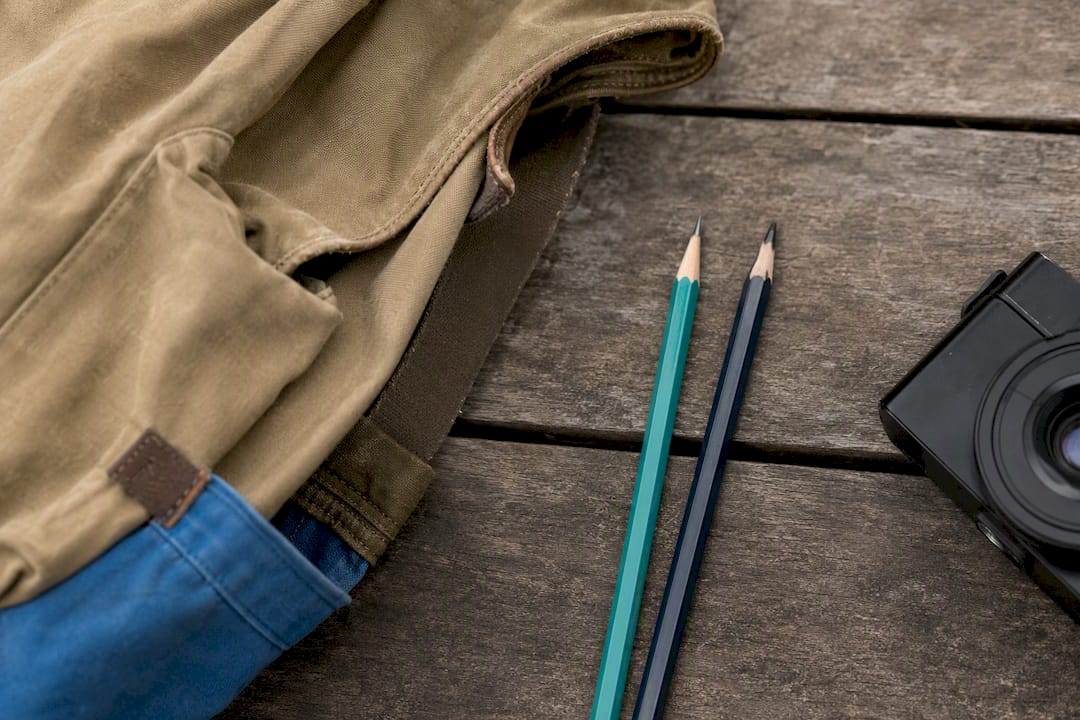
Toolkit: HB/2B pencils, an eraser, a clipboard, plain A4 paper, a small ruler, a compass, a simple cardboard viewfinder, and your phone camera.
6-step field workflow (5 to 10 minutes):
- Choose your view.
- Draw your frame.
- Divide into thirds.
- Sketch the background/skyline.
- Add mid and foreground detail.
- Number, annotate, and photograph.
Photos and scanned sketches are fine to use as backup and for refining detail later, provided the final annotated version submitted in your IA reflects your own observation and analysis, not a redrawn copy of a photograph you never actually stood in front of.
An Examiner’s Take on What Turns a Sketch Into Real Evidence
The gap between a sketch that scores well and one that doesn’t usually isn’t drawing ability. It’s whether the annotations do any analytical work. When I review a student’s first attempt, it’s almost always heavy on labels, “steep slope,” “river bend,” “vegetation,” and light on process. My first question is always: what does this feature tell you about your research question?
Make interpretations conditional on evidence. For example, label a slope angle only if measured, then discuss whether slope and other factors could help explain the turbidity pattern. An annotated sketch suggests mechanisms; it does not by itself prove causation or secure a particular mark.
— Marija
Want an Examiner to Review Your Field Sketches Before You Submit?
Tutoring can help you understand how your own sketches relate to the relevant subject criteria. Bring your question, field notes and current sketch, and discuss observation, interpretation and limitations. Your tutor should not rewrite annotations or produce assessed work for you.
A trial session may include a sketch review, practice rewriting weak annotations into stronger ones, and advice on where each figure belongs in your report. If you’d rather get that feedback before submission than find out after your grade comes back, book a session through Score High IB ESS Internal Assessment with a Tutor and bring your current sketch draft to your first lesson.
Sources
- Field sketches in geography — Internet Geography
- IA mark scheme 2018 onward — IB Geography Pods
- Sketching and photography — Royal Geographical Society (RGS)
- Conducting a field sketch video — NSW Education
No Comments